Overview
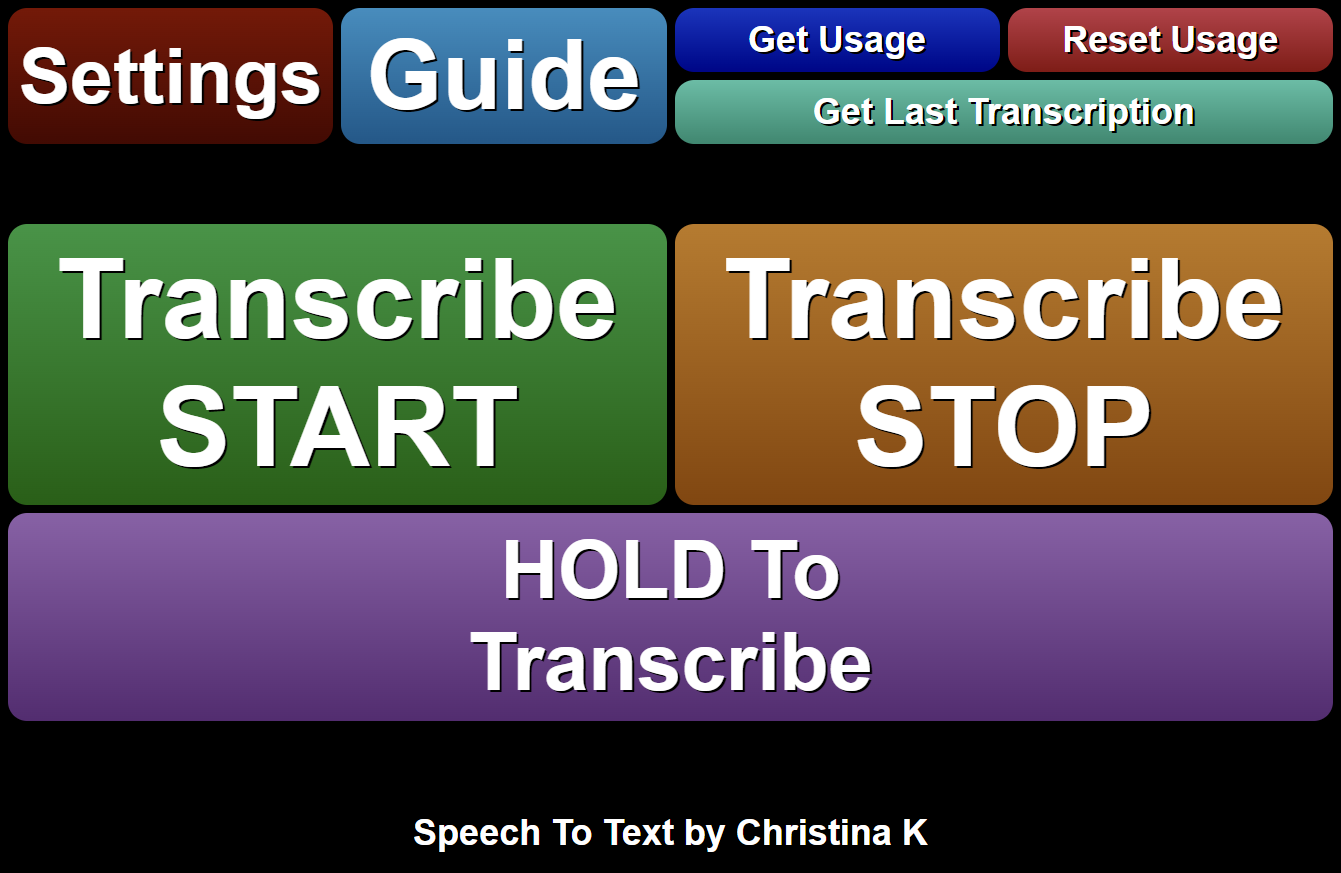
Turn your speech into text effortlessly with SAMMI Speech To Text!
Supported Engines
Google Cloud
Google Cloud’s free tier allows you to transcribe 60 minutes of audio completely free each month
Pricing Info / Supported Languages
OpenAI
OpenAI provides high-quality speech-to-text capabilities. Currently, OpenAI does not provide a free tier.
Pricing Info (under Audio models - Whisper) / Supported Languages
Microsoft Azure
Azure’s free tier allows you to transcribe 5 hours of audio completely free each month.
Pricing Info / Supported Languages
Features
Language Selection
Easily select the language you want to transcribe in, for better transcription accuracy.
Profanity Filter
Some engines offer additional features like a profanity filter for cleaner transcriptions.
Auto Stop
Configure the extension to automatically stop transcribing when silence is detected.
Usage Logging
Keep track of your usage statistics with the built-in logging feature.
Important Note
- The extension is not intended to be used for live captioning, but rather for one time Speech to Text requests, similar to how ‘Ok Google’ or ‘Hey Alexa’ works.
- The extension works best with Bridge running within OBS dock. I can’t guarantee its performance outside OBS.
- You’ll need a credit card to use any of these services.
Icon generated by OpenAI
Special thanks goes to:
My amazing Patrons.
Thank you so much!
If you would like to support me developing SAMMI itself and my extensions, you can join my Patreon, which will give you access to all my upcoming creations for completely free and priority help on any of my extensions.
DISCLAIMER: The extension is provided as is. The developer has no obligation to provide maintenance and support services or handle any bug reports.
Feel free to edit the extension for your own use. You may not distribute, sell or publish it without the author’s permission.
Setup
- Please make sure your SAMMI is updated to the latest version. OBS 29 or higher recommended.
- Install the extension. You can follow the Extension Install Guide.
- Add the
--use-fake-ui-for-media-stream
flag to your OBS executable (if Bridge is running as a dock in OBS):- Navigate to where your OBS shortcut or obs64.exe is located. This could be on your desktop, taskbar, or in the Start menu. Alternatively, find the obs64.exe file in your Program Files folder.
- If you’re using the obs64.exe, right-click on it and choose Create shortcut..
- Modify Properties: Right-click on the new shortcut and choose Properties.
- Add Flag: In the Target field, you’ll see the path to obs64.exe. Add a space at the end of this line and then add
--use-fake-ui-for-media-stream
. The Target field should look something like this:"C:\Program Files\obs-studio\bin\64bit\obs64.exe" --use-fake-ui-for-media-stream
` - Click OK or Apply to save these changes.
- Now, whenever you launch OBS from this shortcut, it will run with this particular flag, which is required for this extension.
- Navigate to the premade deck and open the Settings button to set up the extension:
- General Settings
- Default Engine - Default engine to use in all your queries
- Silence Length - If Auto Stop is enabled, the transcription will automatically stop after X seconds of silence
- Silence Threshold - Define what level of noise is considered ‘silence’, adjust for noisier settings
- Log Usage - Track your usage with Get and Reset Usage commands. Accuracy is not guaranteed, setting up billing alerts is STRONGLY ADVISED for all used services to avoid unexpected charges.
- General Settings
- Check your recording device is correctly set (only available if Bridge is running inside OBS dock)
- Navigate to Bridge - STT by K tab and optionally choose a different recording device
- Continue setting up your desired engine inside Settings button. See more information for each engine and its settings below.
Available Engines
Google Cloud
Free 60 minutes/month. You can monitor usage at Google Cloud - Billing - Overview.
Strongly Advised: Configure notifications at Google Cloud - Billing - Budgets & alerts.
Settings (accessed via Settings button):
- Google Cloud API Key - Your Google Cloud API Key with Text to Speech API enabled
- Language - Transcription language
- Profanity Filter - Attempts to filter out profanities, replaces all but the initial character in each filtered word with **
- Enable Punctuation - Adds punctuation to results (only in select languages)
- Enable Emoji - Converts spoken emojis to Unicode symbols in the text
How to create Google Cloud account and an API key:
- Log in or sign up at Google Cloud
- Watch the video below.
- At
0:50
enable Cloud Speech-to-Text API instead and at1:35
restrict the API key to Cloud Speech-to-Text API instead. - Ignore everything else after
1:50
and simply copy paste the API key into the ‘Google Cloud API key’ box in the Google Cloud settings command.
- At
- Don’t forget to set up a payment method under Billing.
OpenAI
No free tier. You can monitor usage at OpenAI Dashboard
Strongly Advised: Set usage limits
Settings: (accessed via Settings button):
- OpenAI API Key - Find yours at OpenAI platform
- Language - Transcription language
How to create an OpenAI account and an API key:
- Log in or sign up at OpenAI Dashboard
- Watch the video below:
- Don’t forget to set up a payment method under Billing - Payment methods.
Microsoft Azure
Free 5 hours/month. You can monitor usage at Azure Portal
Strongly Advised: Setup a budget at Cost Management and Budgets
Settings: (accessed via Settings button):
- Azure API Key - Azure API key for the Resource that’s configured for SpeechServices in your Azure Portal
- Azure region - Azure region for the Resource that’s configured for SpeechServices
- Language - Transcription language
- Profanity Filter - Specify how to handle profanity in transcriptions: - masked - replaces profanity with asterisks - removed - removes all profanity from the result. - raw - includes profanity in the result.
How to create an Azure account and an API key:\
- Log in or sign up at Azure Portal
- Setup your billing account at Cost Management + Billing
- Watch the video below:
Note: When creating the new resource as shown in the video, create or use an existing Resource Group, and select region closest to your location.
Transcribing
To record and transcribe speech using your microphone, use the STT by K Transcribe command. You can start, stop, or cancel the recording as needed. The transcription will be saved in the variable name you specify in the Start action.
Time limits:
- Google Cloud: Up to 1 minute per transcription
- OpenAI: Up to 2 minutes per transcription
- Azure: Up to 1 minute per transcription
Box Name | Description |
---|---|
Action | Start - begin recording your voice to transcribe Stop - end recording and send the audio to be transcribed Cancel - stop recording without saving or transcribing the audio |
Engine | Use the default engine from Settings, or select a specific one |
Stop Automatically | Stops recording automatically when no sound is detected. You can change the silence level and amount of seconds in Settings. |
Save Variable As (status) | current status, can be one of the following values: listening - actively listening to you speaking processing - processing the recorded speech, not listening anymore ok - speech processed and saved in the Save Variable As (result) error - something went wrong |
Save Variable As (result) | Variable name to save the transcription result into. This is only used for the ‘Start’ action. Will be saved as an empty string if there’s an error. |
Getting and Resetting Usage
You can use STT by K usage command to get the current usage or reset usage for all the engines. Useful to do at the end of the billing month.
Privacy Policy
This developer declares that your data is:
- Not being sold to third parties.
- Not being used or transferred for purposes that are unrelated to the extension's core functionality
- Not being used or transferred to determine creditworthiness or for lending purposes
Reviews
Coming soon!